TL;DR:
- Installing solar panels can significantly reduce rising electricity costs in Washington and Oregon by building energy independence. Proper preparation, including roof assessment, choosing certified installers, and understanding financing options, ensures a smooth process and maximizes incentives. Timing, thorough planning, and working with local experts are crucial for long-term success and optimal financial outcomes.
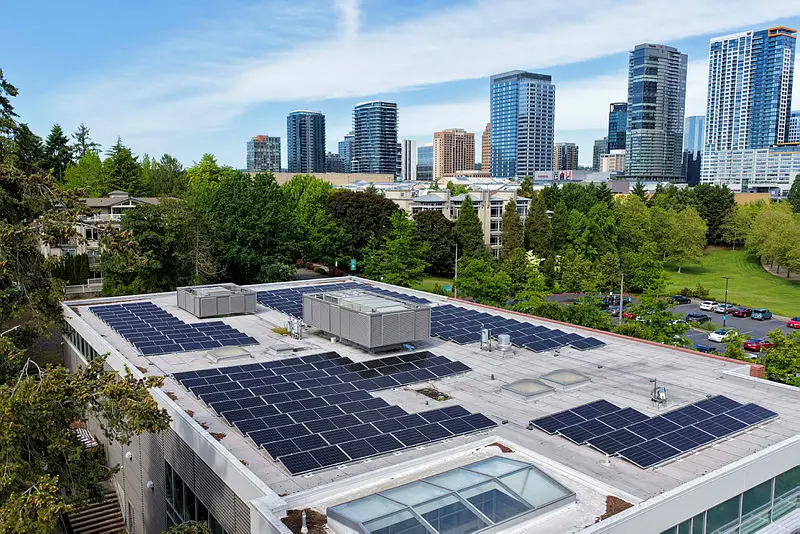
Electricity bills in Washington and Oregon have climbed steadily over the past several years, and many homeowners are tired of watching their monthly costs rise without any clear way to push back. Solar energy offers a real, proven path to reducing what you pay your utility company while also building long-term energy independence. But getting started can feel overwhelming. Which installer do you trust? What does your roof need to qualify? What credits and incentives are actually available to you? This guide walks you through every stage of the process with the local specifics that matter most for Pacific Northwest homeowners.
Table of Contents
- What to know before you start installing solar panels
- How to choose a qualified solar installer
- Step-by-step process: Installing solar panels on your home
- Financing, tax credits, and solar ownership options
- The truth few mention: Timing and preparation matter more than you think
- Take the next step toward solar with local experts
- Frequently asked questions
Key Takeaways
| Point | Details |
|---|---|
| Plan for local requirements | Homeowners should check roof strength, permits, and incentives specific to Washington and Oregon before starting. |
| Choose certified installers | Always compare and select installers with proper certifications to ensure system quality and maximize local incentives. |
| Understand financing options | Review purchase, loan, lease, and PPA models to see how ownership affects tax credits and costs. |
| Expect project delays | While installation is quick, permits and utility approvals often extend the total project timeline by weeks. |
| Sync solar with roof upgrades | Coordinate installation with any necessary roof replacement for better long-term results and investment protection. |
What to know before you start installing solar panels
Now that you know why installing solar is valuable, let’s outline what you need before any panels go on your roof.
The U.S. Department of Energy recommends a structured solar process for residential installations: choose a qualified installer, verify your roof’s condition, estimate your solar potential using past utility bills, evaluate your financing options, and then handle permitting and utility interconnection. Following that sequence protects you from expensive surprises later.
One of the most overlooked steps is confirming that your roof can physically support a solar array. In Washington and Oregon, that includes checking for local wind and snow load capacity. A roof that works fine for standard weather may not pass an engineering review when a 500 to 800-pound system is added to it. Structural readiness is often what holds up permit approvals.
Here is a summary of the typical prerequisites:
| Prerequisite | Recommended standard |
|---|---|
| Minimum roof age remaining | 10 or more years of useful life |
| Roof space needed | 200 to 400 sq ft for a typical 5kW system |
| Roof pitch | 15 to 40 degrees (south-facing preferred) |
| Utility bills needed | At least 12 months of usage history |
| Structural inspection | Completed before permit application |
| Basic materials (installer provides) | Panels, racking, inverter, wiring, disconnect |
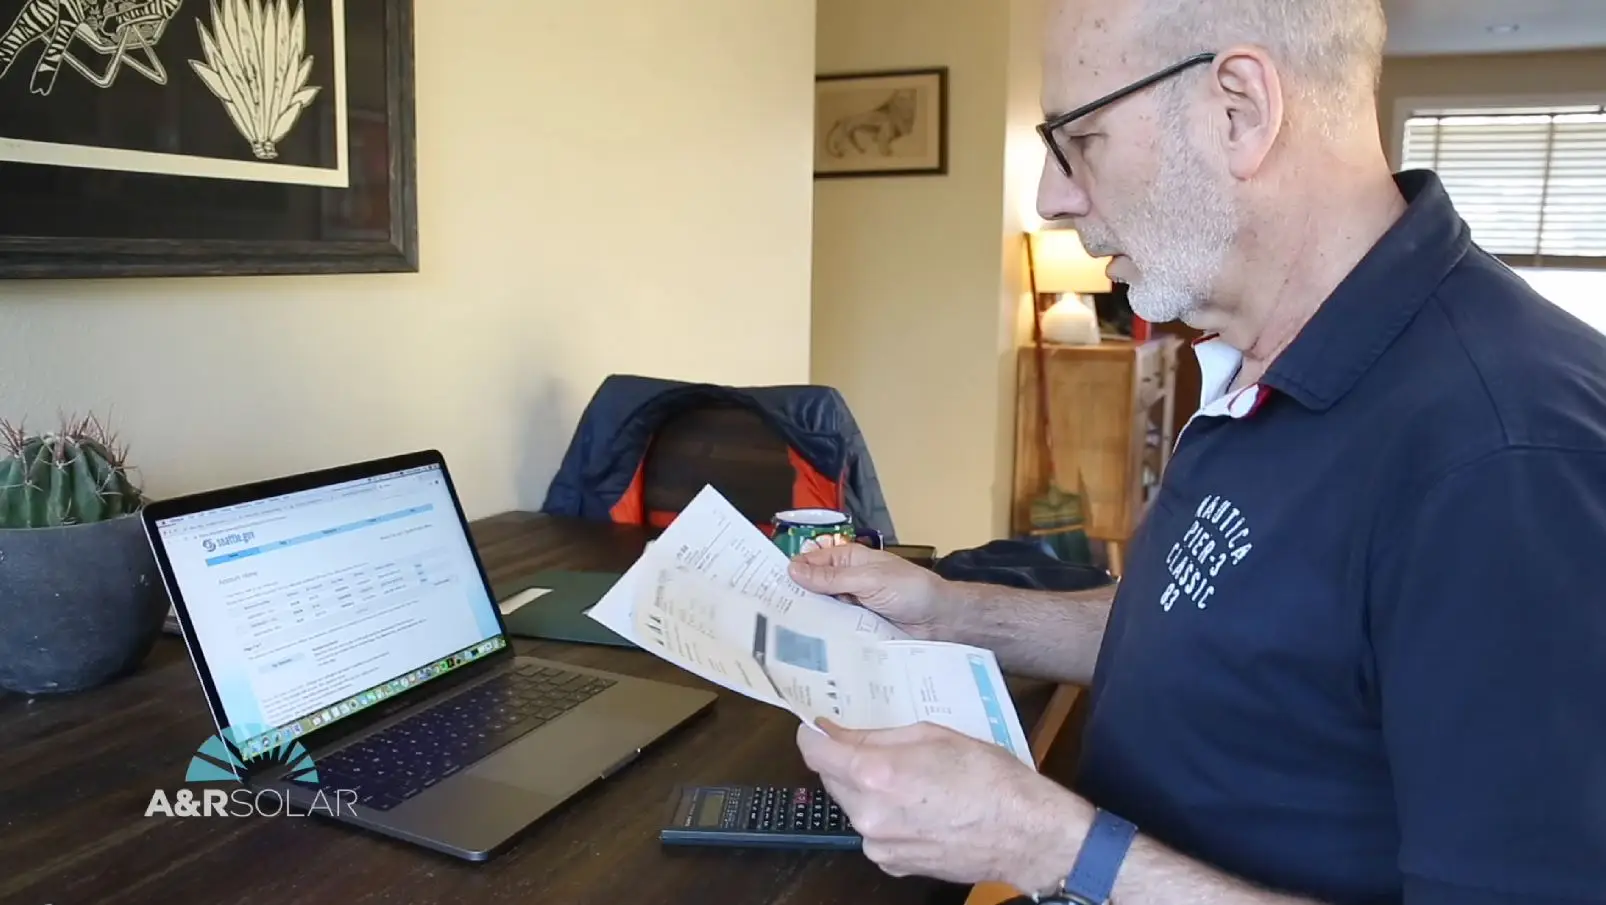
Before you even contact an installer, gather at least one year of utility bills. That data tells your installer how much energy your household uses and how large a system you actually need. Showing up to a site visit with that information saves time and leads to a more accurate quote.
Key items to have ready before your first installer meeting:
- 12 months of electricity bills showing kilowatt-hour (kWh) usage
- Any HOA or neighborhood guidelines that may affect panel placement
- Recent roof inspection report or documentation of last roof replacement
- Knowledge of any shading from trees, chimneys, or neighboring buildings
- Your property’s square footage and general roof layout
Pro Tip: If your roof is within five to seven years of needing replacement, schedule that work before going solar. Removing and reinstalling a solar system to replace a worn roof costs thousands of dollars in labor that you could easily avoid with good planning.
Important: Permitting requirements vary by city and county across Washington and Oregon. Always verify local building codes and utility interconnection rules before signing any contract. Your installer should handle this process, but you should know it is required.
Thinking about the solar panels for your home that are right for your property? Roof condition and orientation are the first filters that determine which system design will perform best for you.
How to choose a qualified solar installer
With your roof and materials checklist ready, next you’ll need the right expert on your side.
Choosing an installer in Washington or Oregon is not just about getting the lowest bid. The quality of your installation directly affects system performance, your ability to claim incentives, and how long your equipment lasts. The Department of Energy advises homeowners to compare multiple installers, verify credentials, and check that each candidate is properly licensed and insured before signing anything.
The most recognized certification in the solar industry is NABCEP (North American Board of Certified Energy Practitioners). An installer with NABCEP certification has passed rigorous exams and demonstrated hands-on competency. In Washington and Oregon, installers must also hold the appropriate state contractor licenses, which vary by the type of electrical and construction work involved.
Here is how different installer types compare on the key factors that matter most to homeowners:
| Factor | Local certified installer | National franchise | Uncertified contractor |
|---|---|---|---|
| NABCEP certification | Common | Varies | Unlikely |
| State license verified | Yes | Usually | Not guaranteed |
| Workmanship warranty | 10+ years typical | 5 to 10 years | Minimal or none |
| Local permit knowledge | Strong | Moderate | Weak |
| After-installation service | Readily available | Hit or miss | Rare |
| References in your area | Yes | Some | Hard to verify |
Working with certified solar installers who are approved for Washington and Oregon incentives matters for a practical reason: some state and utility rebate programs specifically require that the installer meet eligibility requirements. If yours does not qualify, you may lose access to those programs entirely.
Ask every installer these questions before you decide:
- Are you NABCEP certified and licensed in Washington or Oregon?
- What warranties do you provide on workmanship versus equipment?
- Who handles permits, utility interconnection, and inspections?
- Can you provide three or more local references from completed projects?
- What is your process if something needs to be repaired after installation?
- Do you offer ongoing monitoring or maintenance services?
The answers reveal a lot. An installer who hesitates on permits or pushes you to waive inspections is a red flag. Reputable local installers will coordinate the entire permitting process as a standard part of the job.
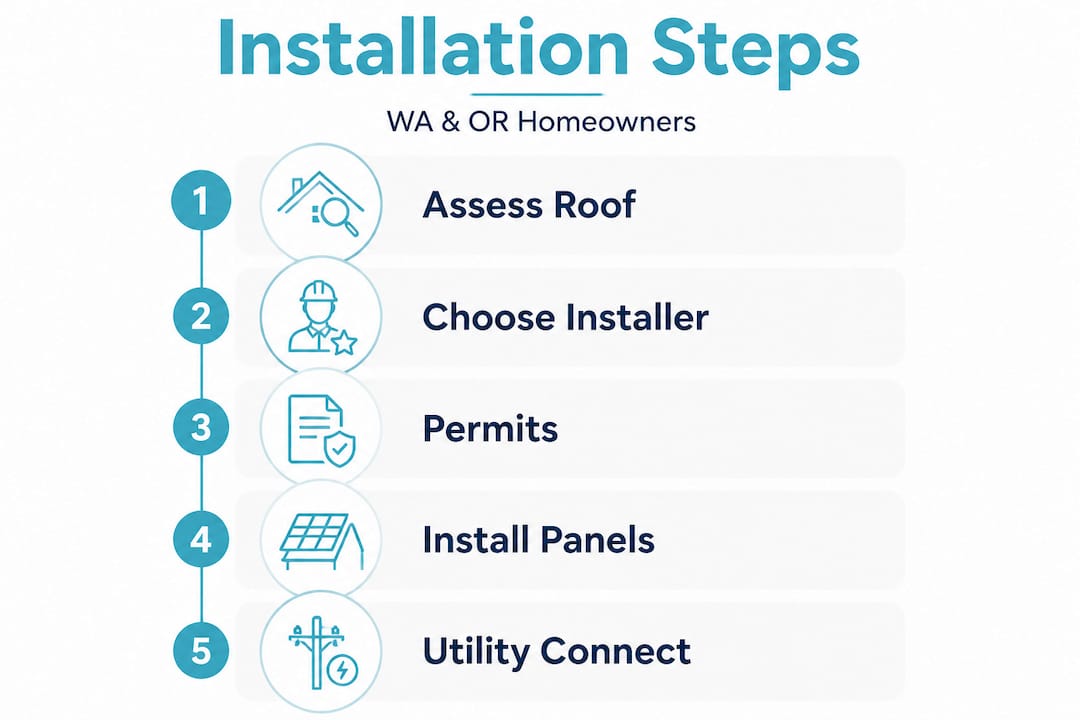
Step-by-step process: Installing solar panels on your home
You’ve secured the right local professional. Here’s exactly what to expect, step by step, as your solar system is designed and installed.
The structured solar installation process follows a predictable sequence. Knowing each phase helps you stay informed and avoid delays.
Site assessment and system design. Your installer visits the property to evaluate roof condition, orientation, shading, and structural integrity. They use your utility bills to size the system. This typically takes one to two visits and a few days of design time.
Financing and contract signing. You review your financing options and sign a contract that outlines equipment, pricing, timeline, and warranty terms. This step often takes one to two weeks depending on loan or lease approvals.
Permit application. Your installer submits applications to your local building department and sometimes the state. Permit complexity varies widely by city and county. In some areas, permits are approved in a few days. In others, it takes several weeks.
Equipment ordering. Once the permit is approved or in progress, your installer orders the panels, racking system, inverter, and all hardware. Lead times vary but are commonly one to three weeks.
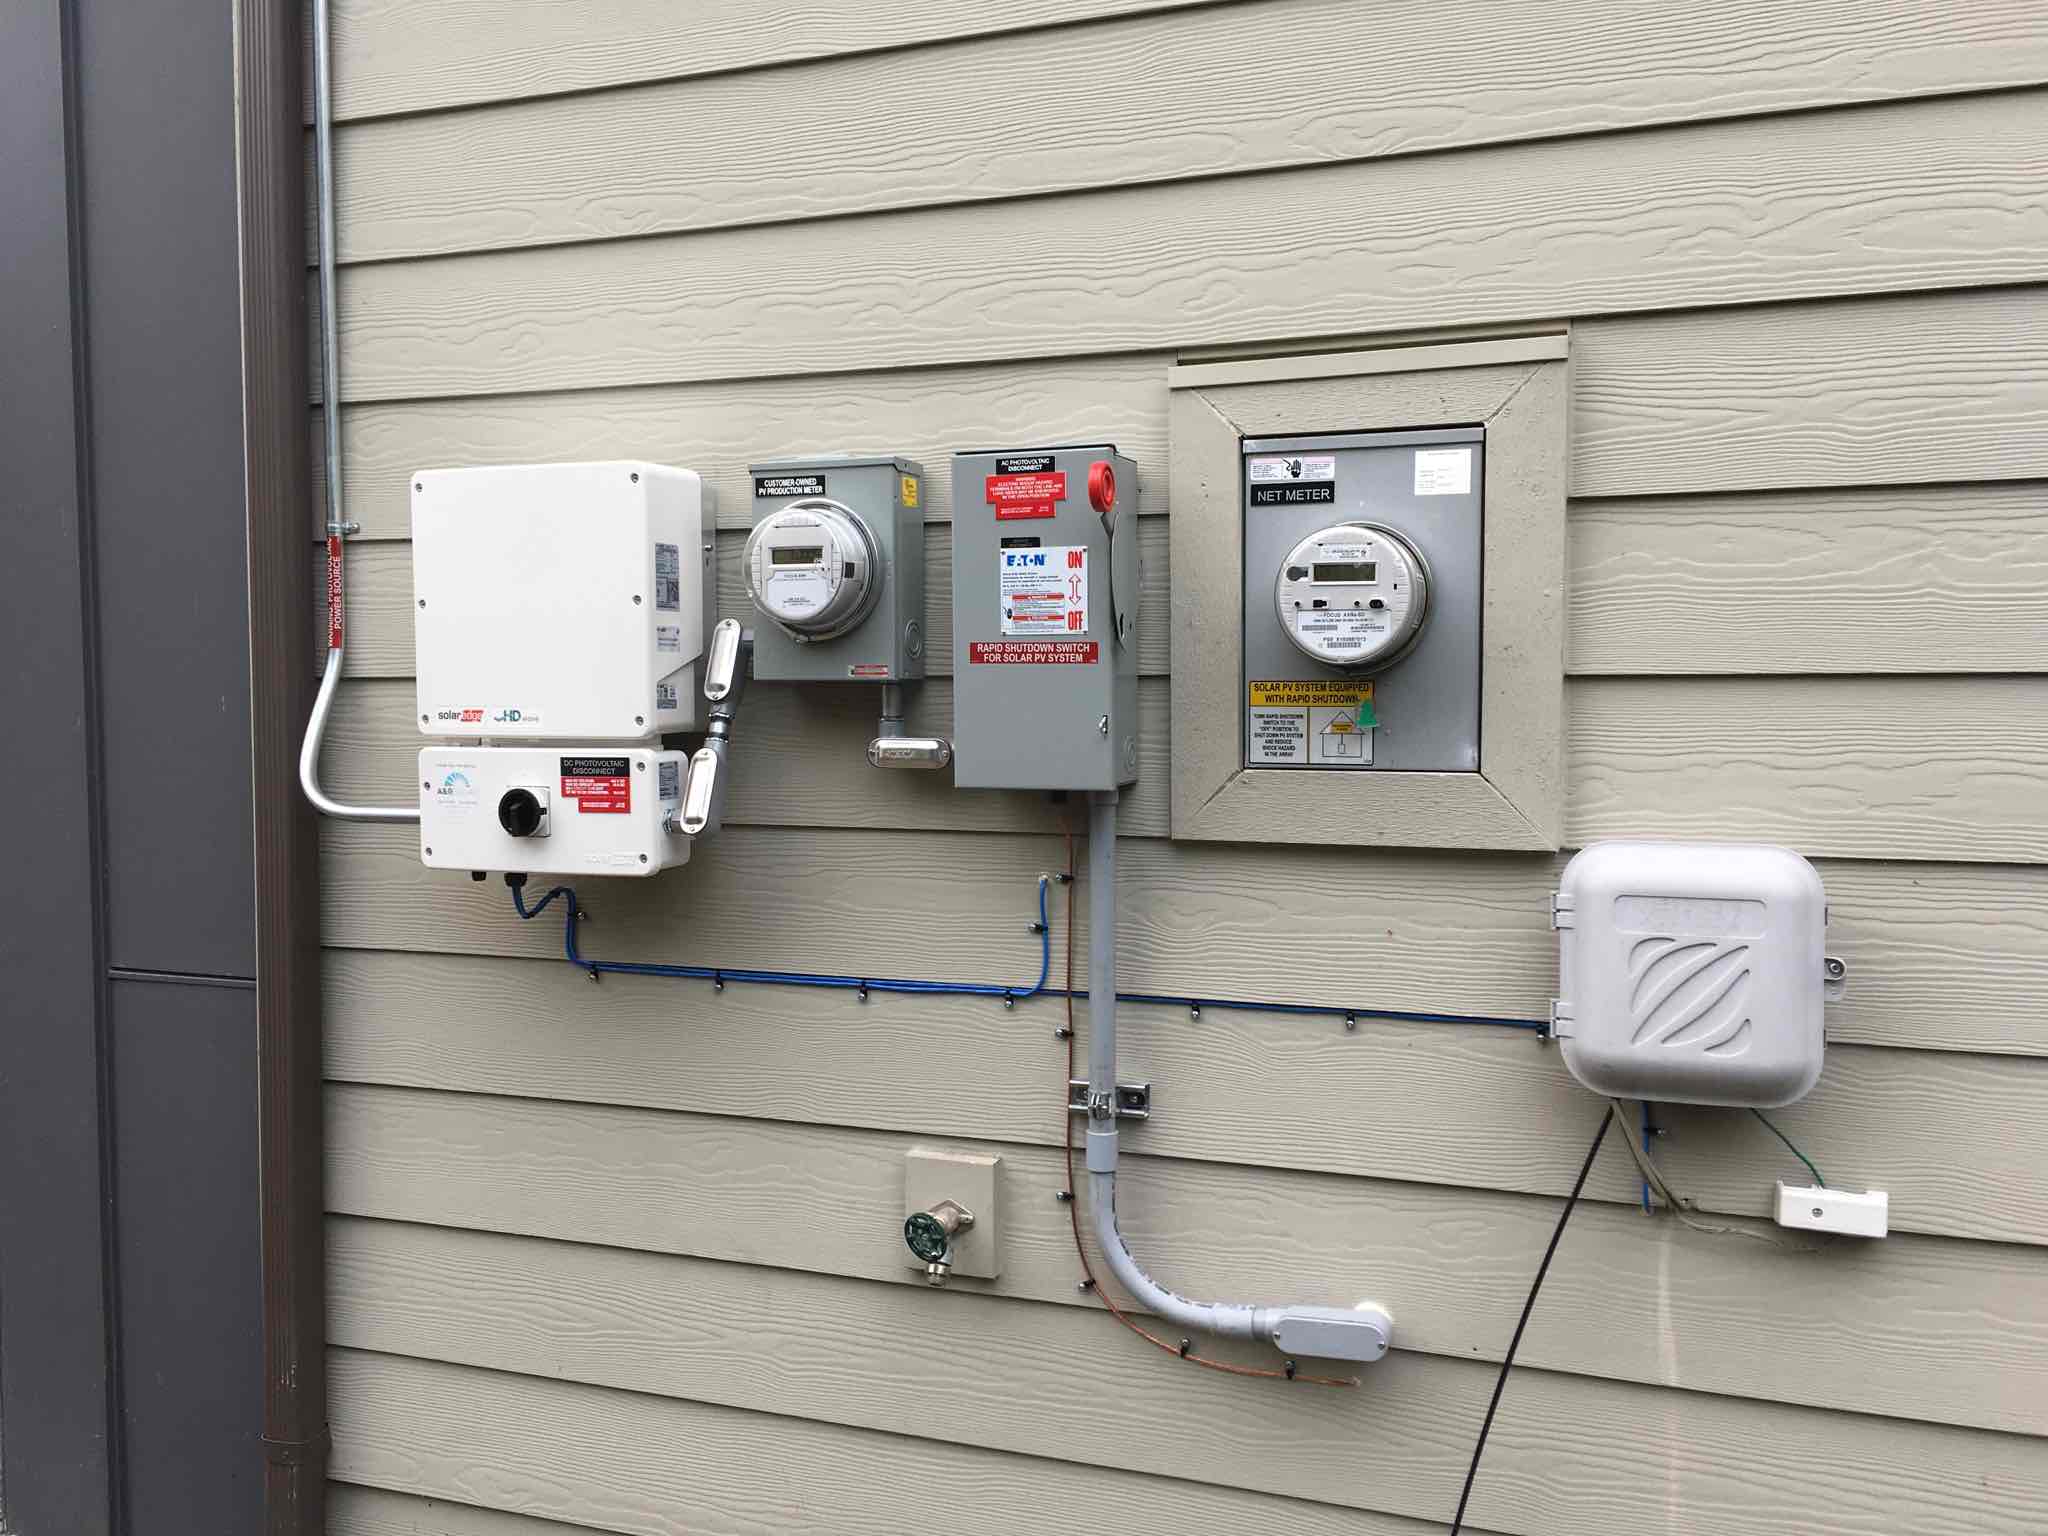
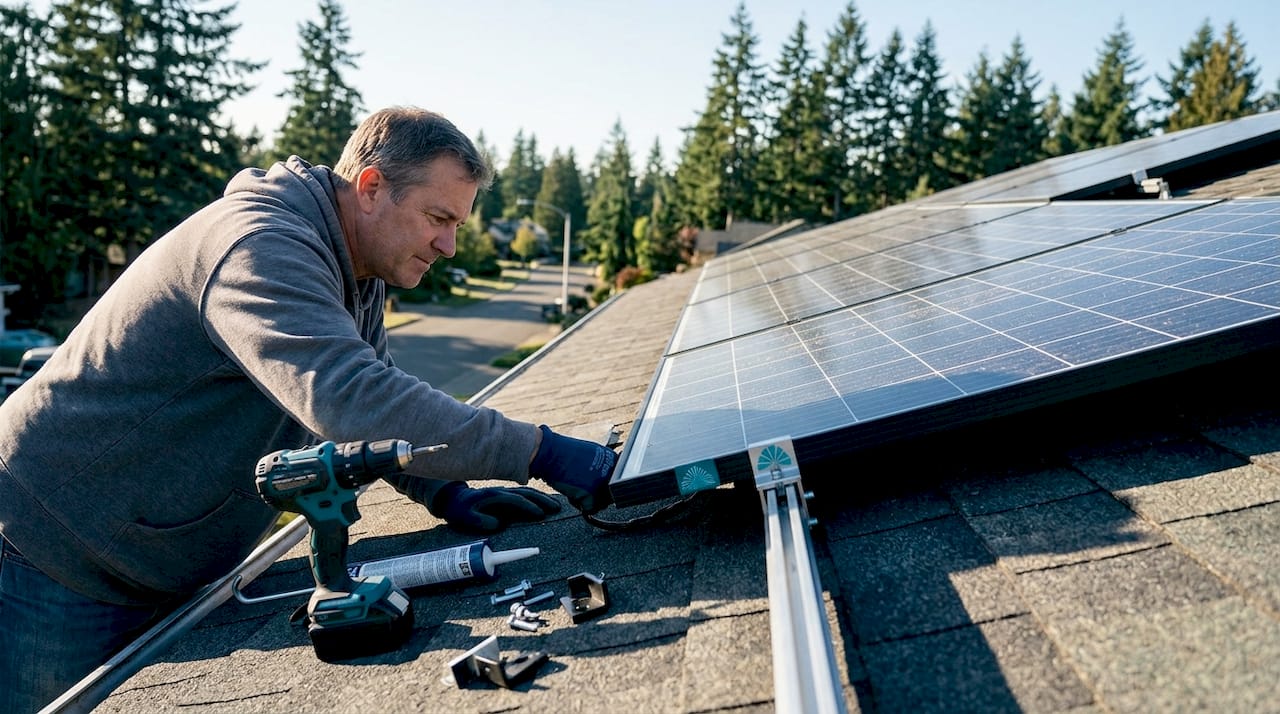
Physical installation. Crews mount the racking system to your roof, attach the panels, run wiring, and install the inverter and main disconnect. For a standard residential system, the physical work usually takes one to three days on-site.
Inspection. Your local building inspector visits to verify the installation meets code. If corrections are needed, a second visit is scheduled. This phase can add days or weeks depending on your municipality’s scheduling backlog.
Utility interconnection. Your utility company must approve the system before you can export power to the grid or activate net metering. This approval process can take anywhere from a few weeks to several months depending on your utility provider.
System activation and monitoring setup. Once all approvals are received, your installer activates the system and sets up performance monitoring so you can track production in real time.
Pro Tip: Online tools like SolarTRACE can show you historical permit and interconnection timelines for your specific utility territory. That information helps you set realistic expectations and plan around delays.
Timeline reality check: While the physical installation often takes only a few days, the full process from contract signing to activation commonly spans two to six months when permitting and utility interconnection are included. Plan accordingly, especially if you are trying to capture a specific incentive deadline.
Financing, tax credits, and solar ownership options
Understanding your installation plan is just part of the story. Making it affordable is where the real payoff begins.
Most Washington and Oregon homeowners have four main options for paying for solar: a cash purchase, a solar loan, a lease, or a power purchase agreement (PPA). Each option comes with different financial outcomes, especially when it comes to tax incentives.
The most financially beneficial path for most homeowners is ownership through a cash purchase or loan. You also retain access to state-level incentives and net metering benefits that reduce your bill month after month.
Leasing and PPAs work differently. When you lease solar in Washington or use a PPA, a third-party company owns the equipment installed on your roof. You pay a fixed rate for the electricity the system produces.
Ownership vs. leasing: what each path actually means
Ownership pros:
- Full net metering credits apply to your utility bill
- System adds value to your home at resale
- No ongoing payments after loan payoff
Ownership cons:
- Higher upfront cost or loan payment
- You are responsible for maintenance (though warranties cover most issues)
Leasing or PPA pros:
- Little to no upfront cost
- Maintenance is typically handled by the third party
- Predictable monthly payment
Leasing or PPA cons:
- Fewer state incentives may be available to you
- Lease agreements can complicate home sales
- Long-term savings are typically lower than ownership
On incentives and ownership: “Tax credits generally apply to owners who purchase systems, while leases and PPA arrangements shift who claims the tax benefits.” Understand this before you choose a financing structure, because it changes the long-term math significantly.
Understanding the lease vs PPA distinction also matters because the two work differently even within the third-party model. A lease charges a fixed monthly payment regardless of production, while a PPA charges per kilowatt-hour produced. Both shift the tax credit to the third party.
For a full breakdown of current programs, visit the financing and incentives page, which covers Washington and Oregon-specific programs, utility rebates, and net metering policies that affect your return on investment.
The truth few mention: Timing and preparation matter more than you think
Here is something we see regularly in our work across Washington and Oregon: homeowners who rush into the process without checking their roof’s remaining lifespan end up paying for it. Not just in money. In time, frustration, and missed incentive windows.
A homeowner installs solar panels on a 14-year-old roof with five years of life left. Three years later, the roof needs replacing. The solar system has to come down, the roof gets replaced, and the system goes back up. That reinstallation adds anywhere from $1,500 to $4,000 in labor to a project that could have been avoided entirely with a $300 roof inspection before the solar contract was signed.
The permitting and utility interconnection delays also catch people off guard more often than they should. We have seen homeowners plan solar installations around specific tax year deadlines, only to find that interconnection approval from their utility took four months longer than expected. The system was installed but could not be activated in time to claim the credit in their target year.
The fix is not complicated. It requires being methodical. Check your roof now, even if you are months away from making a decision. Get a solar quote from a detailed solar guide perspective that accounts for your specific roof age, orientation, and local permit timelines. Ask your installer directly: what is the realistic activation date for my area, and what could slow it down?
Pro Tip: If you are weighing solar timing against current incentive levels, always coordinate with your roof’s expected replacement date first. A roof that fails after installation does far more financial damage than waiting an extra year to install.
The homeowners who come out ahead are the ones who treat solar as a long-term infrastructure investment rather than a quick purchase. That mindset shift, from transaction to project management, is what separates smooth installations from stressful ones.
Take the next step toward solar with local experts
Equipped with real-world insights and resources, all that’s left is to make your solar project a reality.
A&R Solar has been helping Washington and Oregon homeowners navigate this exact process for nearly two decades. As a local, employee-owned company and certified B Corporation, we handle everything from initial site assessment and permitting to installation, inspections, and utility interconnection. You can browse completed residential solar projects to see what real installations across the region look like, and review real-world case studies that show actual system performance and homeowner outcomes.
Ready to find out what solar could do for your home? Contact A&R Solar for a no-pressure consultation. Our team will assess your roof, review your utility bills, and give you a clear picture of your options before you commit to anything. Local expertise makes a measurable difference at every step of this process.
Frequently asked questions
How long does it take to install solar panels in Washington or Oregon?
The physical installation usually takes one to three days on-site, but permitting and utility approvals can add weeks to months depending on your local jurisdiction and utility provider. Plan for the full process to take two to six months from contract signing to activation.
What is the best roof orientation for solar panels in the Pacific Northwest?
A south-facing roof with minimal shading and a pitch between 15 and 40 degrees is ideal for maximizing solar production in Washington and Oregon. East and west-facing roofs can still perform well depending on your usage pattern.
Are there special state incentives for solar in Washington or Oregon?
Both states offer incentives and programs including utility rebates and net metering policies, though availability and funding levels vary by location and program year. Check with your installer and your specific utility for current program status.
Can I still get incentives if I lease my solar panels?
With a lease or PPA, the third-party company that owns the system though you still benefit from lower electricity costs, but you will not directly receive the ownership-based incentives.