

TL;DR:
- Rising electricity rates in Washington and Oregon make solar a cost-effective alternative.
- Proper site assessment, permitting, and professional installation are essential for system success.
- Ongoing maintenance and local expertise impact long-term performance and system reliability.
Electricity rates across Washington and Oregon have risen steadily, and most forecasts show that trend continuing into the late 2020s. For homeowners already watching monthly utility bills climb, that’s a real concern, not a distant worry. Going solar can significantly reduce or even eliminate those costs, but the process can seem complicated if you’ve never done it before. This guide breaks the entire journey into clear, manageable steps, from your first site assessment through long-term maintenance, so you can move forward with confidence and get the most out of your investment.
Table of Contents
- What you need before starting: Tools, materials, and site assessment
- Step-by-step solar installation process explained
- Common issues and troubleshooting during installation
- What to expect after installation: Activation, inspection, and ongoing maintenance
- Our take: What most guides don’t say about solar installation success
- Get expert help for your solar installation in Washington or Oregon
- Frequently asked questions
Key Takeaways
| Point | Details |
|---|---|
| Preparation is critical | Assess your site, gather materials, and secure permits before starting any solar work. |
| Step-by-step process | Break the installation into clear, manageable phases for better results and safety. |
| Watch for common issues | Learning from frequent mistakes avoids costly rework and compliance delays. |
| Post-installation matters | Inspections and regular maintenance keep your system running optimally for years. |
| Professional support helps | Experienced installers handle details that maximize efficiency and long-term savings. |
What you need before starting: Tools, materials, and site assessment
Now that you know the value of a systematic approach, let’s start with what you’ll need before any panels go up.
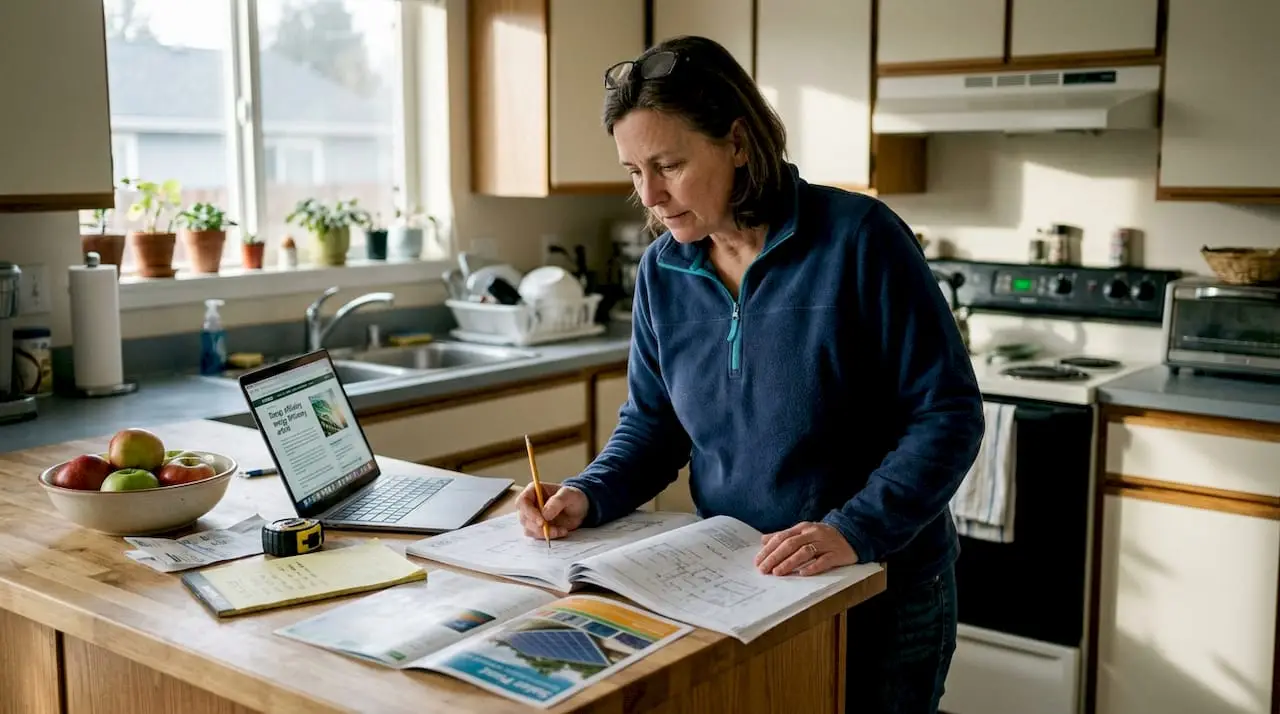
A building a solar ready home assessment confirms that proper preparation is essential for an efficient solar installation. Skipping this phase is one of the most common reasons projects run over budget or get delayed.
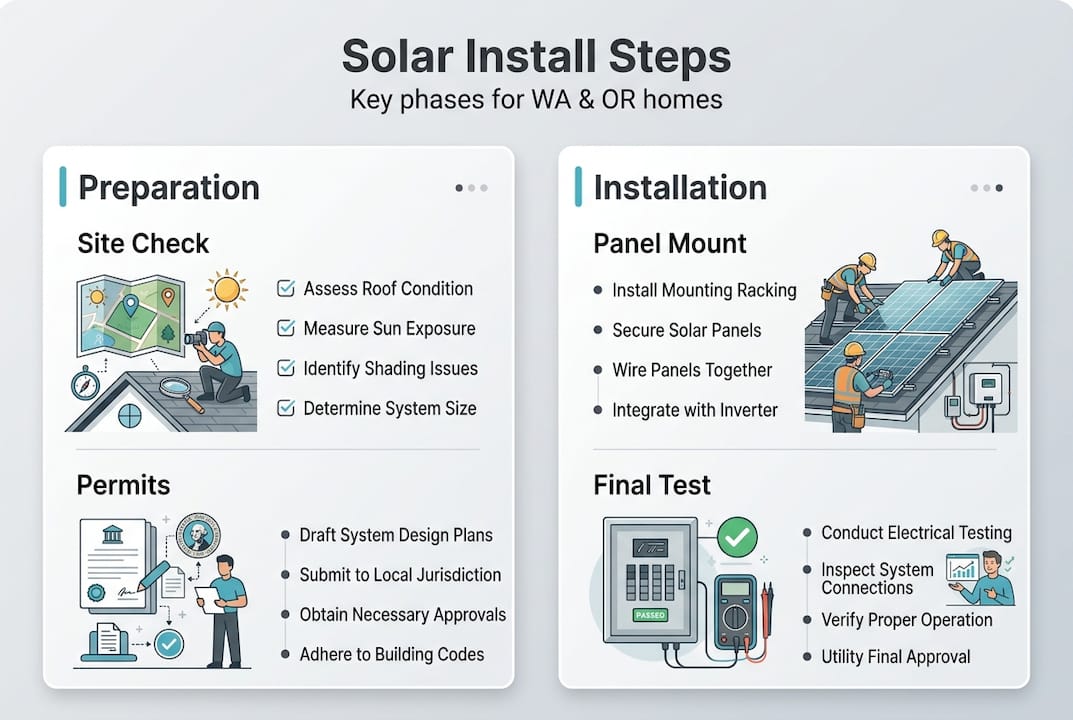
Before any equipment is ordered, you need to evaluate your roof and your site. Key factors include roof age, pitch, structural integrity, and how much direct sun your roof receives throughout the day. South-facing roofs with a pitch between 15 and 40 degrees tend to perform best in the Pacific Northwest, but east and west-facing surfaces can still produce strong results.
Here’s a summary of the core tools and materials a residential photovoltaic (PV) system requires:
| Component | Purpose |
|---|---|
| Solar panels (monocrystalline or polycrystalline) | Convert sunlight into direct current (DC) electricity |
| Inverter (string or microinverter) | Converts DC to usable alternating current (AC) |
| Mounting rails and hardware | Secures panels to roof structure |
| Conduit and wiring | Connects system components safely |
| Disconnect switches | Required for safety and utility compliance |
| Production meter | Tracks energy output over time |
| Battery backup (optional) | Stores excess energy for use during outages |
Permitting is a non-negotiable step in both Washington and Oregon. Most jurisdictions require a building permit, an electrical permit, and utility interconnection approval before any work begins. Your solar provider should handle this paperwork, but it’s worth verifying upfront. Review the pre-installation checklist to make sure nothing gets missed.
Grid connection also requires coordination with your local utility. Net metering policies, which allow you to earn credits for excess power sent back to the grid, vary by utility. Confirm your utility’s current net metering terms before finalizing your system size.
Key prerequisites to confirm before moving forward:
- Roof has at least 10 to 15 years of useful life remaining
- No major shade obstructions during peak sun hours (10 a.m. to 2 p.m.)
- Electrical panel has sufficient capacity or can be upgraded
- Local permits are identified and timelines are understood
- Utility interconnection application is initiated
Pro Tip: Get at least three quotes from licensed solar installers and ask each one for local references. Pricing and service quality vary widely, and a quick call to a past customer can reveal a lot about what to expect.
Step-by-step solar installation process explained
Once your preparations are complete, you can move confidently into the actual installation phase.
Solar installation process step one confirms that following a precise installation sequence ensures both safety and optimal system performance. Cutting corners at any stage creates problems that are costly to fix later.
Here’s the standard sequence for a residential solar installation:
- System design: Your installer uses your site data, energy usage history, and roof layout to design a system sized for your needs.
- Permit submission: Electrical and building permits are filed with your local jurisdiction. This can take days to several weeks depending on your city or county.
- Roof preparation: Any damaged shingles or flashing issues are repaired before mounting hardware is attached.
- Mounting installation: Rails and brackets are secured directly to roof rafters. Proper panel mounting basics ensure your panels stay secure through Pacific Northwest weather, including heavy rain and occasional snow loads.
- Panel installation: Panels are attached to the rails and connected in strings or individually, depending on the inverter type.
- Wiring and conduit runs: DC wiring from the panels is routed to the inverter location, with conduit protecting all exposed runs.
- Inverter and electrical connections: The inverter is mounted, wired, and connected to your main electrical panel.
- System commissioning: Your installer powers everything up, checks all connections, and verifies the system is producing power as expected. Review the during installation timeline for a clear picture of each phase.
| Factor | DIY installation | Professional installation |
|---|---|---|
| Cost | Lower upfront | Higher upfront, often offset by incentives |
| Permitting | Homeowner’s responsibility | Handled by installer |
| Warranty protection | May be voided | Typically maintained |
| Safety risk | Higher | Minimized with trained crew |
| Timeline | Unpredictable | Structured and scheduled |
Safety note: Working on a roof and handling live electrical components carries serious risk. Always use fall protection equipment, turn off all power sources before making electrical connections, and never work alone.
Pro Tip: Label every component, breaker, and wire run as you go. It takes a few extra minutes but saves significant time if you ever need to troubleshoot or file a warranty claim.
Common issues and troubleshooting during installation
Even the most organized installs can hit a snag. Here’s what to watch for and how to keep moving.
Awareness of common issues can prevent installation setbacks and ensure full code compliance from the start. Most problems are avoidable with a bit of advance planning.
Top issues and how to address them:
- Misaligned panels: Panels that aren’t properly aligned reduce output and can create structural stress. Double-check rail levelness before securing every panel.
- Loose or incorrect wiring: A loose MC4 connector (the standard locking connector used in solar systems) can cause arcing or system shutdowns. Inspect every connection before powering up.
- Permit oversights: Missing a required inspection step can require rework and delay your permission to operate. Keep a checklist of every required sign-off.
- Inverter error codes: Most modern inverters display diagnostic codes. Cross-reference the manufacturer’s manual before assuming a component has failed.
- Roof penetration leaks: Improperly flashed mounting points are a leading cause of roof damage. Use code-approved flashing kits and follow manufacturer specs precisely.
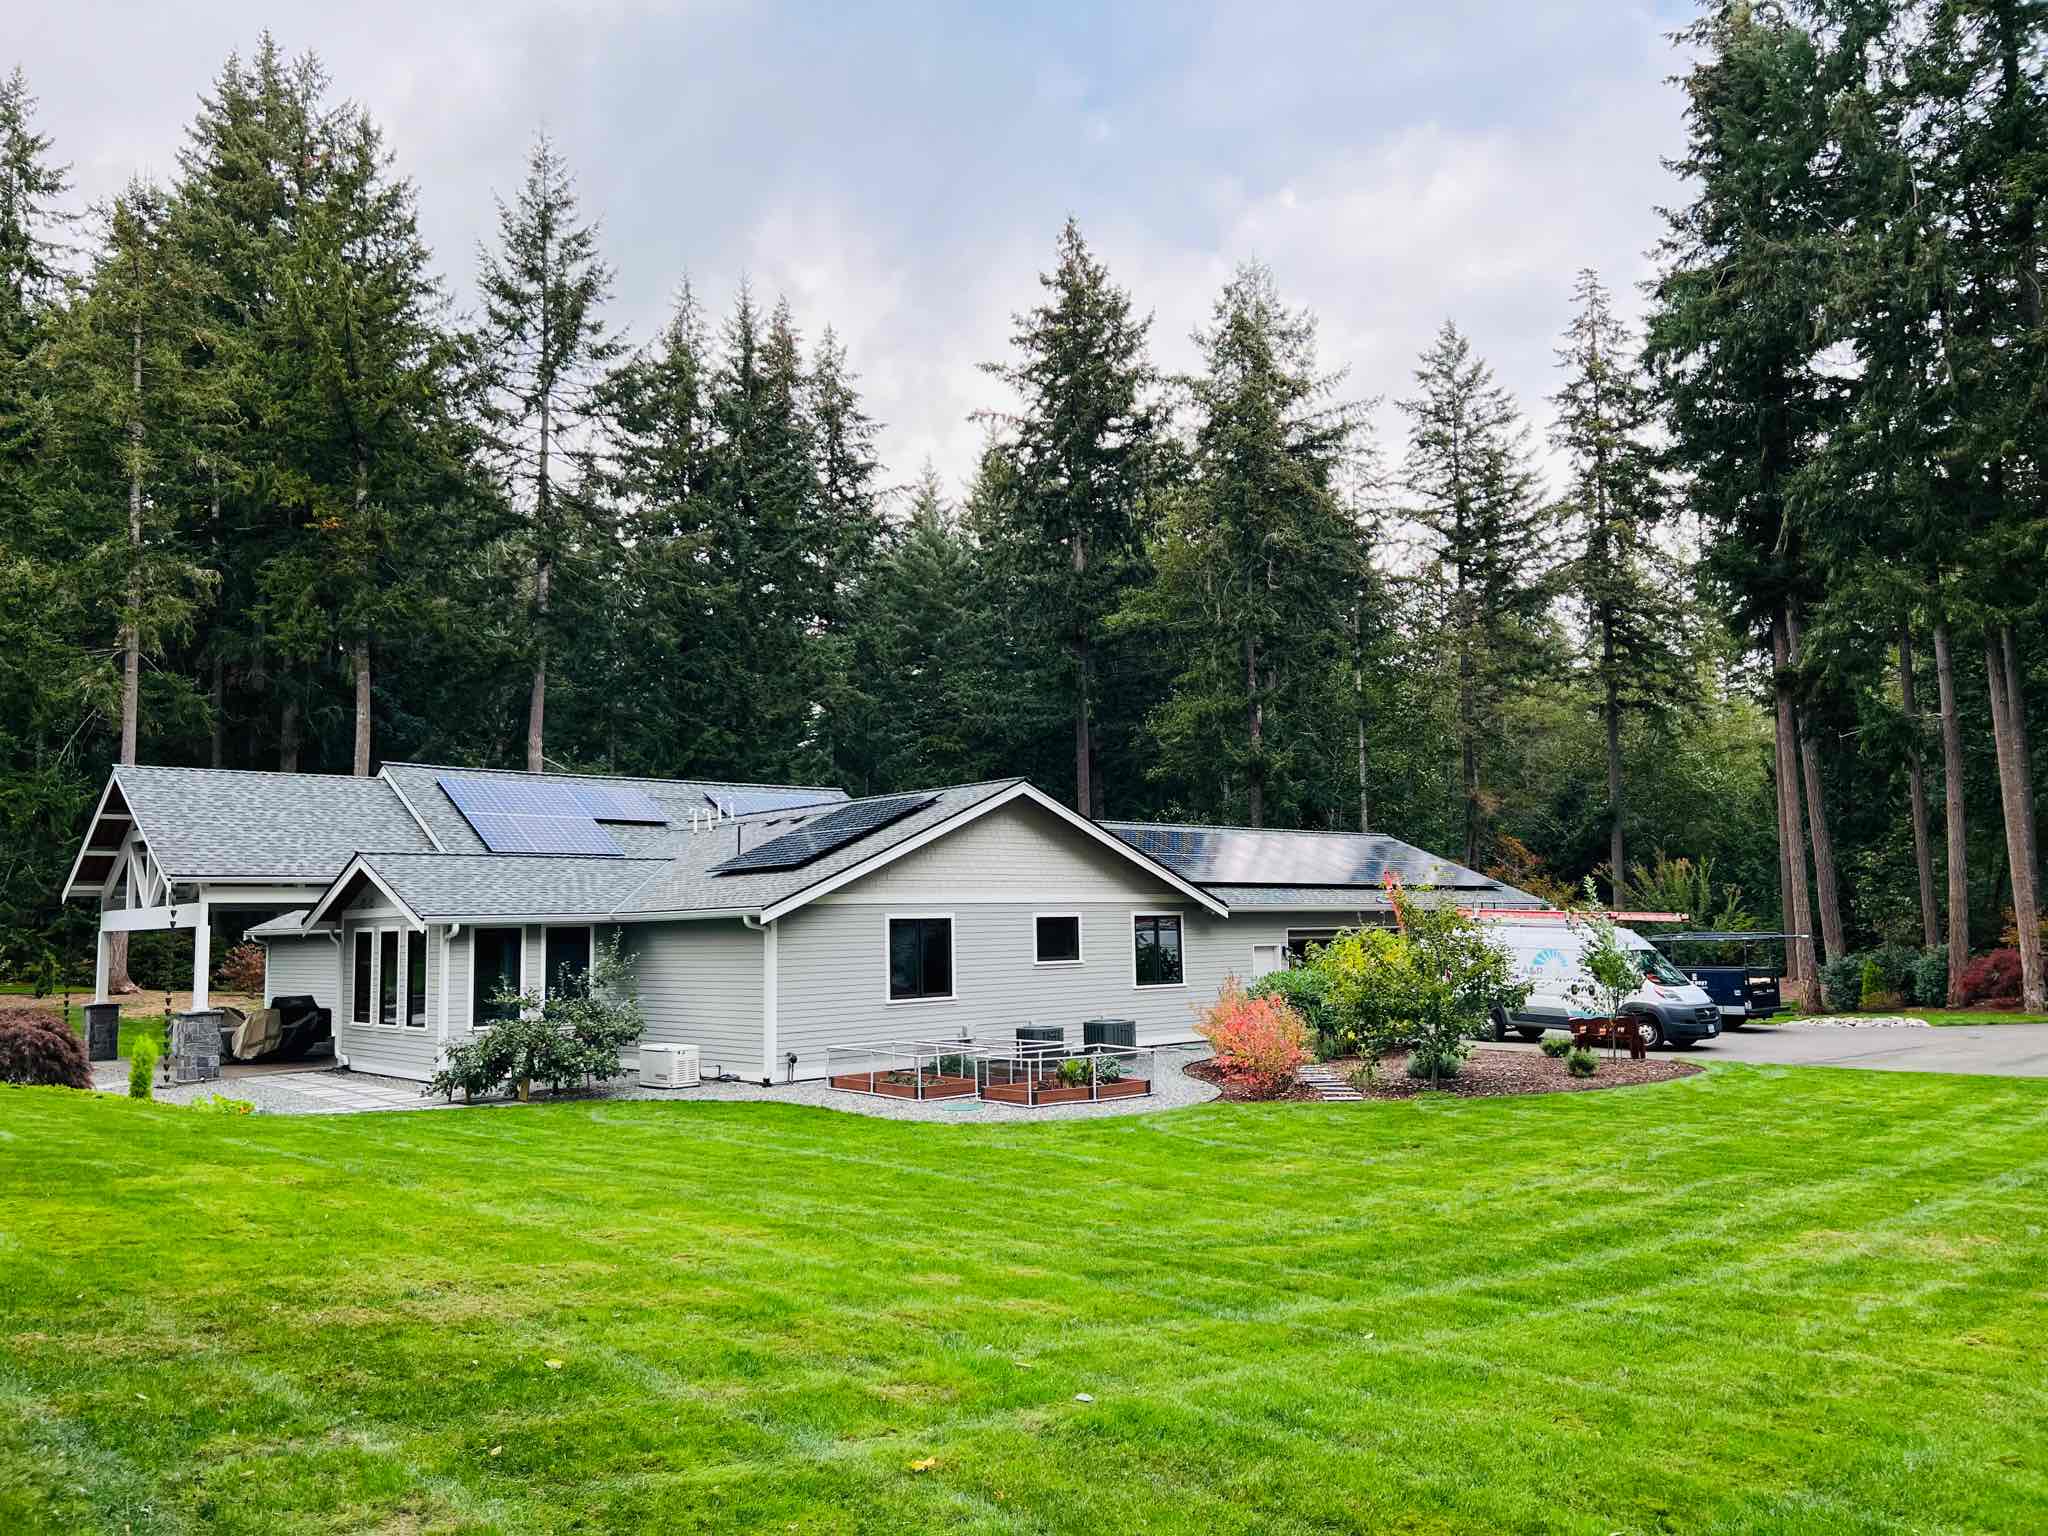
For ongoing support after your system is live, review the post-installation guidance available to A&R Solar customers.
Pro Tip: Photograph every stage of the installation, including wiring runs, mounting hardware, and inverter settings. These images are invaluable if you ever need to make a warranty claim or diagnose a future issue.
Weather advisory: Plan for weather delays in the Pacific Northwest. Rain and wind can shut down rooftop work for days at a time. Safety always comes first, and rushing in poor conditions leads to mistakes.
What to expect after installation: Activation, inspection, and ongoing maintenance
With the panels on your roof, there are just a few more steps before you start generating power.
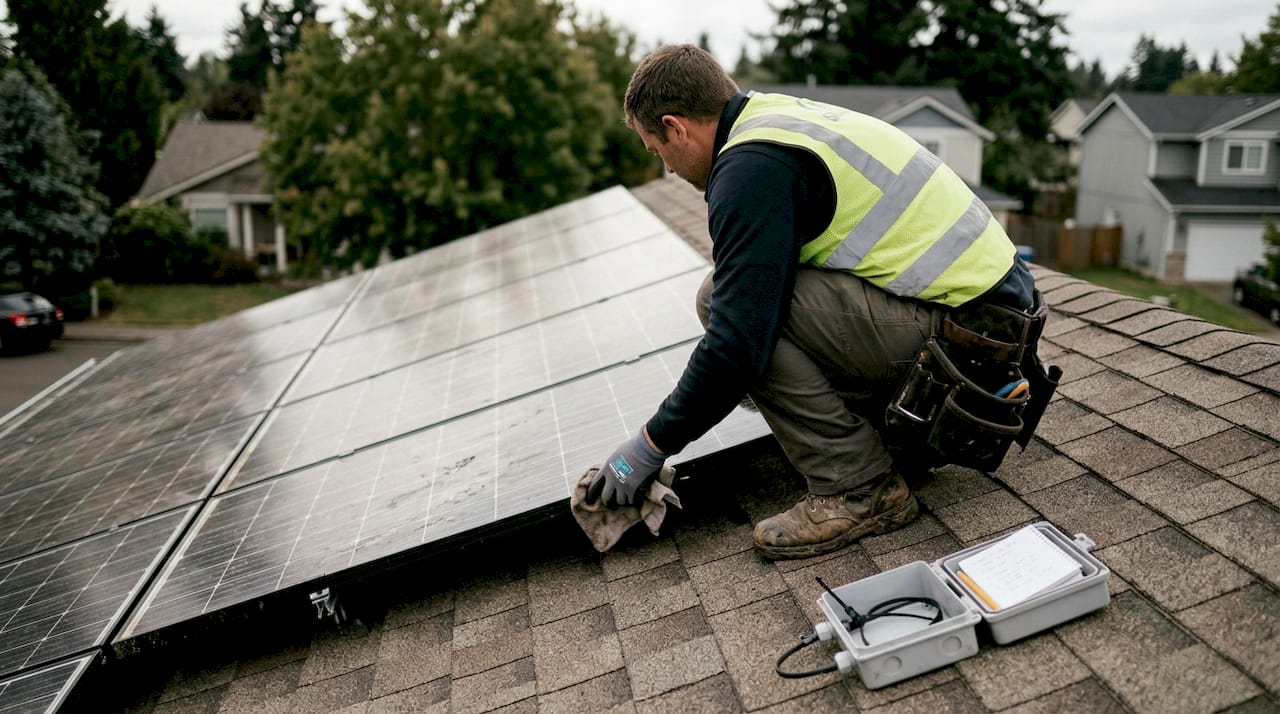
Continuous maintenance maximizes your investment and ensures reliable energy for years. This phase is often underestimated, but it’s where long-term performance is won or lost.
After installation wraps up, your system must pass a final inspection from your local jurisdiction. Once approved, your utility will authorize interconnection, sometimes called permission to operate (PTO). Only after PTO is granted can you legally start exporting power to the grid and earning net metering credits.
Routine maintenance tasks every homeowner should plan for:
- Clean panels two to four times per year, or after heavy pollen or dust events
- Check inverter display monthly for error codes or unusual readings
- Inspect mounting hardware and visible wiring annually for corrosion or damage
- Monitor system output consistently using your monitoring app or portal
- Schedule a professional inspection every three to five years
| Milestone | Typical timeframe |
|---|---|
| Final inspection approval | 1 to 2 weeks after installation |
| Utility interconnection (PTO) | 1 to 4 weeks after passing inspection |
| First full month of production data | 4 to 6 weeks post-PTO |
| Break-even point on investment | 6 to 12 years depending on system size and incentives |
For a detailed look at the financial side, including payback periods and available incentives in 2026, the solar ROI and benefits resource breaks down the numbers clearly.
Warranty care matters too. Most panel manufacturers offer 25-year performance warranties, but those warranties often require documented maintenance. Keep records of every cleaning, inspection, and service visit.
Our take: What most guides don’t say about solar installation success
Most solar installation guides focus on the mechanics and treat every location as essentially the same. That’s a mistake, especially in the Pacific Northwest.
Local knowledge makes a measurable difference. Washington and Oregon have unique building codes, utility interconnection rules, and weather patterns that affect both installation decisions and long-term performance. An installer who has worked with your specific utility and jurisdiction handles permitting faster and avoids the code interpretation disputes that slow projects down.
Here’s the part that rarely gets said: the installation day is actually one of the least important factors in your system’s long-term success. What matters more is the ongoing relationship with your installer, their ability to respond when something needs attention, and whether they designed the system correctly for your actual usage patterns from the start.
DIY installation looks appealing when you’re comparing quotes, but the complexity of permitting, electrical code compliance, and utility coordination is genuinely significant. Our real-world case studies consistently show that homeowners who work with experienced local installers see faster activations, fewer inspection failures, and better long-term system performance.
Get expert help for your solar installation in Washington or Oregon
Ready to make the jump or want the reassurance of a professional touch? Working with a licensed regional installer means your system is designed, permitted, and commissioned by people who know Washington and Oregon utilities inside and out.
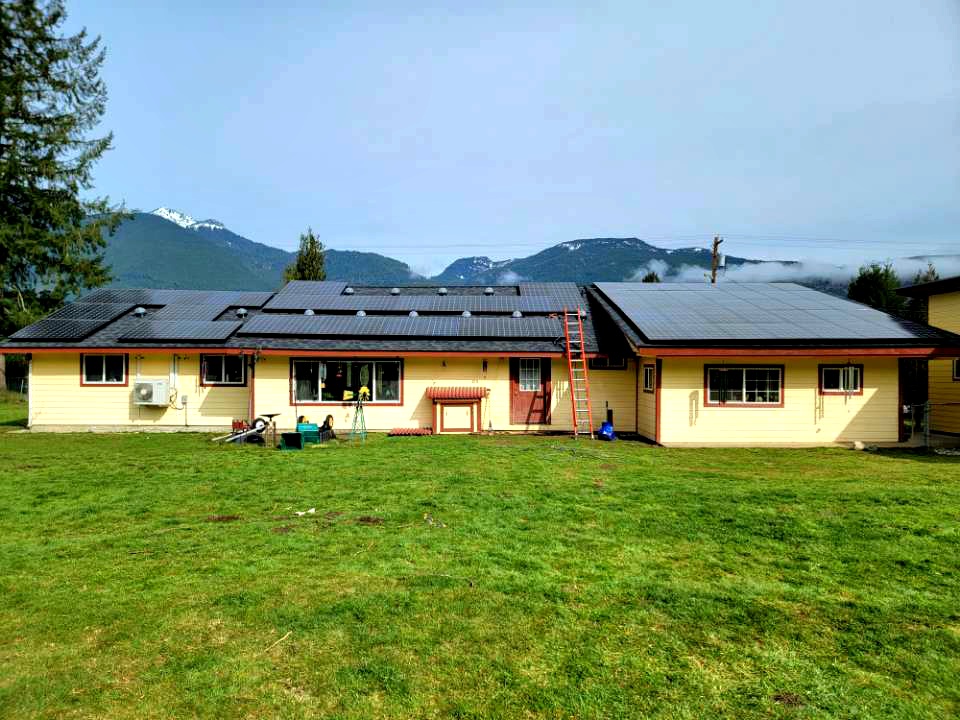
At A&R Solar, we handle every step, from initial site assessment through permitting, installation, and ongoing support. You can see real residential projects completed across the region, or browse the full explore project portfolio to see systems similar to yours. Homeowners in Washington can learn more about our service options in Washington, while Oregon homeowners can explore our service options in Oregon. We’re employee-owned, B Corporation certified, and have spent two decades getting this right.
Frequently asked questions
How long does a typical residential solar installation take?
Most projects take between two and eight weeks, depending on permitting and weather. Installation timing varies with local permits and site conditions, so starting the permitting process early helps keep things on schedule.
Can I install solar panels myself, or do I need a professional?
DIY is technically possible, but most homeowners benefit significantly from hiring professionals for permitting and electrical safety. Professionals help navigate code requirements, utility coordination, and safety standards that are difficult to manage without experience.
What maintenance do solar panels require after installation?
Most systems need occasional cleaning, inverter checks, and output monitoring to maintain peak performance. Regular maintenance ensures reliable, long-term power generation and keeps your warranty documentation current.
Are there local incentives for solar in Washington or Oregon?
Yes, state and utility incentives can meaningfully reduce both up-front costs and lifetime expenses. Local incentives are available for Washington and Oregon homeowners.
How do I know if my roof is suitable for solar panels?
A site assessment examines your roof’s angle, size, shading, and structural condition to determine suitability. Proper site assessments determine roof compatibility and identify any issues that need to be resolved before installation begins.